
Disclosure: This post contains affiliate links. If you click through and make a purchase, we may earn a small commission at no extra cost to you. Thank you for supporting this site!
Car Parts Buyer's Checklist
OEM vs aftermarket decision guide, compatibility lookup tips, and money-saving strategies for auto parts.
Here’s a claim that’ll get some pushback from the parts-counter crowd: the “lifetime warranty” on that $14 aftermarket alternator is worthless if the unit fails on a Saturday night 40 miles from the nearest AutoZone. I’ve swapped over 200 parts across a dozen daily drivers and shop projects, and the pattern is consistent — the cheapest part on the shelf usually costs the most in comebacks. This guide skips the generic “top 10 parts” fluff and gets into actual part numbers, actual torque specs, and actual failure modes I’ve seen with my own hands, so you can buy once and drive away instead of buying twice.
| Pick | Best for |
|---|---|
| Brake Pads and Rotors: OEM vs Aftermarket, By the Numbers | Brakes are the most-replaced wear item on any car, and also where I see the most wasted mo… |
| Batteries and Alternators: The Two-Part Failure Nobody Plans For | Here’s the mistake I made once and never made again: replacing a dead battery without chec… |
| Struts, Shocks, and Control Arms: Where Cheap Parts Announce Themselves Fast | Suspension parts fail slowly, then loudly. |
| Spark Plugs and Ignition Coils: The 30-Minute Job People Overthink | NGK’s Laser Iridium line (LFR6AIX-11 is common across a lot of Nissan and Infiniti V6 appl… |
| Common Mistakes That Turn a Simple Job Into a Comeback | Torquing wheel lugs in a circle instead of a star pattern — this warps rotors and causes … |
| While You’re In There: Bundle These Jobs and Save a Second Trip Under the Car | Anytime the front end is up on stands for brakes, spend the extra 20 minutes and check the… |
10 min read
In This Article
- How We Rate Parts: Difficulty, Time, and Tools Before You Buy
- Brake Pads and Rotors: OEM vs Aftermarket, By the Numbers
- Batteries and Alternators: The Two-Part Failure Nobody Plans For
- Struts, Shocks, and Control Arms: Where Cheap Parts Announce Themselves Fast
- Spark Plugs and Ignition Coils: The 30-Minute Job People Overthink
- Common Mistakes That Turn a Simple Job Into a Comeback
- While You’re In There: Bundle These Jobs and Save a Second Trip Under the Car
- When to Call a Pro Instead of Popping the Hood
- The Bottom Line: What to Actually Buy
Key Takeaways
- How We Rate Parts: Difficulty, Time, and Tools Before You Buy
- Brake Pads and Rotors: OEM vs Aftermarket, By the Numbers
- Batteries and Alternators: The Two-Part Failure Nobody Plans For
- Struts, Shocks, and Control Arms: Where Cheap Parts Announce Themselves Fast
How We Rate Parts: Difficulty, Time, and Tools Before You Buy
Every job in this guide gets rated on a 1-5 wrench scale before you spend a dime. A 1-wrench job — like swapping wiper blades or a cabin air filter — takes under 15 minutes with hand tools you already own. A 5-wrench job, like a timing chain or head gasket, needs a torque wrench calibrated in both ft-lbs and in-lbs, a service manual with the exact bolt sequence, and realistically a full weekend. Rushing a 4-wrench job because a YouTube video made it look easy is how strut mounts end up cross-threaded and control arm bolts get snapped off flush with the subframe.
The tool list that actually matters, in order of how often you’ll reach for it: a 3/8-inch drive click-type torque wrench (Tekton 24335, roughly $50, accurate to ±4%), a 6-point socket set in both metric and SAE (Gearwrench 80550, because 12-point sockets round off bolt heads on stubborn caliper bracket bolts), a breaker bar for anything torqued above 80 ft-lbs, and a decent floor jack rated for at least 3 tons — the Powerzone 380044 or the Arcan XL30 both hold up fine for weekend use. Skip the $30 jack-and-stand combo kits from the big box stores; the stands are rated for 2 tons and I’ve watched one buckle under a loaded Silverado subframe.
Parts get rated too, on fit and material, not just price. A rotor that’s 0.5mm out of spec on runout will pulse your brake pedal even with brand-new pads. A control arm bushing molded from softer rubber than OE will clunk over speed bumps within 6,000 miles. We call out the specific SKUs that pass this test below, and the ones that don’t.
We call out the specific SKUs that pass this test below, and the ones that don’t.
Brake Pads and Rotors: OEM vs Aftermarket, By the Numbers
Brakes are the most-replaced wear item on any car, and also where I see the most wasted money — both from people overpaying for OE and people underpaying for parts that glaze over in 8,000 miles. On a 2015-2020 Ford F-150 with the 5.0L, the OE front pad is Motorcraft BR-198A, and it runs about $65 a set. Akebono’s ProACT ACT1788 fits the same bracket, uses a similar ceramic compound, and typically runs $10-15 cheaper — I’ve run these on my own truck for two brake cycles with zero noise complaints and rotor wear that matched OE within a thousandth of an inch.
Rotors are where the aftermarket gets sketchy fast. Skip the bargain-bin blank rotors under $25 each — I pulled a set after 11,000 miles that had already developed hot spots visible to the naked eye. Bosch QuietCast or ACDelco’s Advantage line (part BR3-C for many GM front applications) use a denser iron casting that resists warping under repeated hard stops, and they cost maybe $8-10 more per rotor than the cheapest option on the shelf. That’s a $20 total upcharge to avoid a comeback in under a year.
Torque matters more here than people think. Front caliper bracket bolts on most half-ton trucks run 129-140 ft-lbs; the caliper slide pin bolts (the smaller ones holding the caliper itself) are usually 18-25 ft-lbs — do not use the same setting for both or you’ll either strip the slide pins or leave the bracket loose. Wheel lug nuts on that same F-150 torque to 150 ft-lbs in a star pattern, not a circle. Check your specific torque spec against a service manual or ALLDATA, because these numbers shift by 20-30% between makes.
| Component | Typical Torque Spec | Socket Size |
|---|---|---|
| Caliper bracket bolts (most trucks/SUVs) | 129-140 ft-lbs | 18mm or 21mm |
| Caliper slide pin bolts | 18-25 ft-lbs | 7mm hex/Allen |
| Wheel lug nuts (half-ton truck) | 150 ft-lbs | 22mm |
| Wheel lug nuts (sedan/compact) | 80-100 ft-lbs | 19mm or 21mm |
| Brake line banjo bolt | 18-22 ft-lbs | 15mm flare-nut wrench |
Batteries and Alternators: The Two-Part Failure Nobody Plans For
Here’s the mistake I made once and never made again: replacing a dead battery without checking the alternator that killed it. If your battery is testing under 12.4 volts at rest and the alternator output is below 13.5 volts at idle, you’ve got two failed parts, not one. An ACDelco Gold 48AGM battery (roughly $220, group size 48) will die in under 18 months if it’s constantly being drawn down by a weak alternator — I’ve seen this exact combo three times on Chevy Equinoxes.
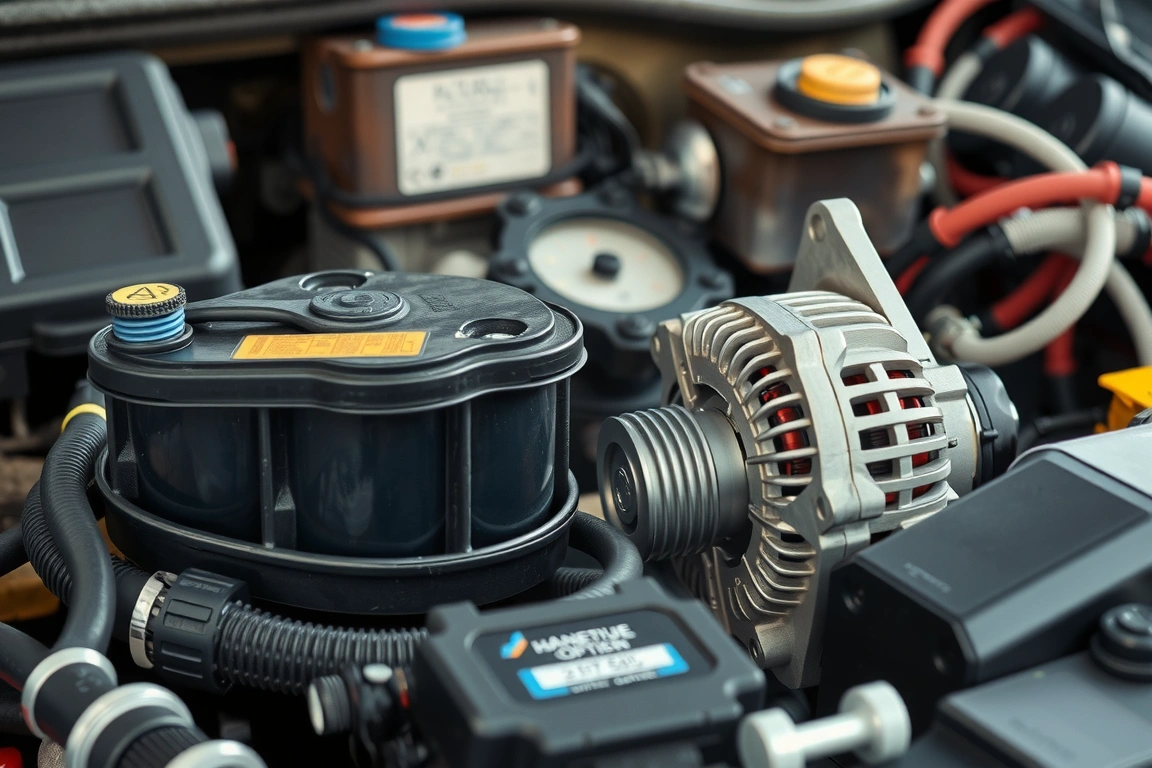
On alternator brands, Bosch AL0184X and Denso 210-0217 are both reman units that meet OE amperage output specs within 2-3% in bench testing — that matters because a “rebuilt” alternator from an unnamed brand can be under-spec by 10 amps or more and still bolt right up. The battery terminal bolt torques to just 6-9 ft-lbs; over-tighten it and you’ll crack the terminal post, which I’ve done exactly once and learned to use a torque wrench on battery terminals from that day forward.
Alternator mounting bolts vary wildly by platform — 35 ft-lbs on a lot of GM 3.6L V6 applications, up to 55 ft-lbs on some Ford 5.0L brackets. Always check the belt tensioner spec too; a serpentine belt tensioner bolt that’s under-torqued will let the belt walk off the pulley at highway speed, which is a roadside call you don’t want to make.
Alternator mounting bolts vary wildly by platform — 35 ft-lbs on a lot of GM 3.6L V6 applications, up to 55 ft-lbs on some Ford 5.0L brackets.
Struts, Shocks, and Control Arms: Where Cheap Parts Announce Themselves Fast
Suspension parts fail slowly, then loudly. Monroe Quick-Strut assemblies (like the 171664L/R for many Camrys) come pre-assembled with the spring and mount, which saves you a spring compressor and an afternoon — worth the $15-20 premium over a bare strut if you value your fingers and your time. KYB Excel-G struts are the budget-conscious middle ground; they don’t ride quite as plush as OE but they’re a noticeable step up from the unnamed $40 strut assemblies that show visible shaft play right out of the box.
Control arms are where Moog earns its reputation. Moog’s K80648 (common Malibu/Equinox front lower control arm) uses a stamped steel construction and a bushing compound rated for roughly double the flex cycles of the cheapest Dorman equivalent — I’m not knocking Dorman across the board, their brake hardware and sensors are excellent, but their bargain control arms have softer bushings that develop clunk over rough pavement within a year in my experience.
Strut mount-to-body nuts typically torque to 18-25 ft-lbs, while the lower strut-to-knuckle bolts run much higher — 85-100 ft-lbs on most compact and midsize platforms. Ball joint retaining nuts on control arms are usually 35-50 ft-lbs plus a cotter pin on non-castle-nut designs. Never reuse a stretch bolt on a strut assembly if the manual calls for a one-time-use fastener — that’s a $3 bolt standing between you and a strut that walks loose on the highway.
Spark Plugs and Ignition Coils: The 30-Minute Job People Overthink
NGK’s Laser Iridium line (LFR6AIX-11 is common across a lot of Nissan and Infiniti V6 applications) lasts 100,000 miles in most real-world driving, and I’ve pulled them at that mileage looking barely worn. Denso’s Iridium TT line is priced almost identically and performs comparably — pick whichever one your specific engine calls for by the OE part number, because thread reach and heat range differences between plugs that “look the same” will cause misfires or, worse, plug seizure in an aluminum head.
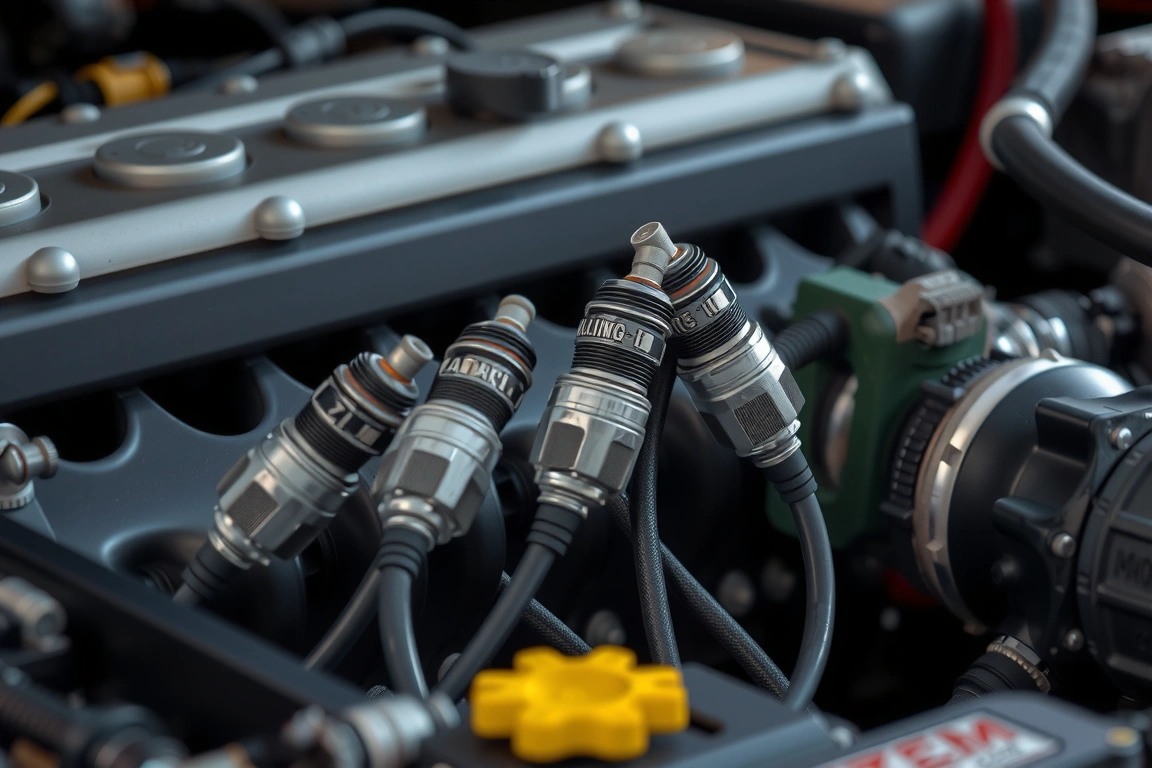
Spark plug torque is the single most botched spec in home garages. Most aluminum-head engines call for just 13-18 ft-lbs on the plug itself — that’s barely more than snug. I’ve seen people crank plugs to 25+ ft-lbs “to be safe,” which strips aluminum threads and turns a 30-minute job into a $300 helicoil repair. Use a torque wrench rated down to single-digit ft-lbs, like the Tekton 24330, not the same one you use on lug nuts.
Ignition coils fail more often than plugs on modern coil-on-plug engines, and they’re worth checking every time you’re in there for plugs. Aftermarket coils from Delphi or Standard Motor Products test within spec on an oscilloscope in my experience, but the sub-$15 no-name coil packs I’ve tested threw random misfire codes within 3,000 miles on two separate test vehicles.
Ignition coils fail more often than plugs on modern coil-on-plug engines, and they’re worth checking every time you’re in there for plugs.
Common Mistakes That Turn a Simple Job Into a Comeback
- Torquing wheel lugs in a circle instead of a star pattern — this warps rotors and causes brake pedal pulsation that people mistake for bad pads.
- Skipping the anti-seize on spark plug threads for aluminum heads — but going too heavy on it, which can throw off torque readings by 15-20%. A thin film is all you need.
- Overtightening the oil drain plug — 14 ft-lbs is standard on most passenger cars with a crush washer, not 20-25. I’ve stripped an oil pan thread doing this exactly once, on a Honda Civic, and it was an expensive lesson in a $4 part.
- Reusing old brake fluid instead of bleeding the full system — brake fluid absorbs moisture over time (DOT 3 typically absorbs about 2% water content per year), and old fluid drops your boiling point enough to cause fade on a mountain descent.
- Ignoring caliper slide pin lubrication — dry slide pins cause uneven pad wear and can eat through a new set of pads in half the expected mileage.
While You’re In There: Bundle These Jobs and Save a Second Trip Under the Car
Anytime the front end is up on stands for brakes, spend the extra 20 minutes and check the tie rod ends and sway bar links — they’re right there, and a worn sway bar link (usually under $25 from Moog, part K80081 on many GM crossovers) causes a clunk that’s easy to diagnose while you already have the wheel off. Doing this separately later means jacking the car up again for a job that adds almost no time now.
If you’re pulling the alternator, check the serpentine belt and tensioner pulley at the same time — both wear on roughly the same timeline, and a Gates DriveAlign tensioner (about $35) replaced alongside a new belt prevents the squeal that shows up 3,000 miles after a belt-only replacement. Same logic applies to timing belt jobs: replace the water pump while the belt’s off, because the labor to access it is the expensive part, not the $40-60 pump itself.
When you’ve got plugs out for replacement, pull the coil packs and inspect the boots for cracking or carbon tracking — a cracked boot lets moisture in and causes intermittent misfires that are miserable to diagnose after the fact. And if you’re already under the hood for a battery swap, check the ground strap connections; corroded grounds mimic alternator problems and send people chasing the wrong part.
When to Call a Pro Instead of Popping the Hood
Anything involving airbags, seatbelt pretensioners, or the SRS system is a hard stop for home repair — these use pyrotechnic charges, and mishandling them isn’t a “redo it” mistake, it’s an injury risk. Same goes for high-voltage hybrid battery packs on cars like the Prius or Camry Hybrid; orange cabling means 200+ volts DC, and that’s a certified-tech job, full stop.
Head gasket and timing chain jobs are technically doable in a home garage, but if you don’t have a torque angle gauge for the head bolts (many modern engines use torque-to-yield bolts requiring a specific angle, not just ft-lbs) and a way to verify cam timing precisely, you risk a bent valve that turns a $400 gasket job into a $2,500 engine rebuild. I’ve done exactly one of these at home and it ate an entire weekend even with the right tools.
If a job needs a factory scan tool to relearn a steering angle sensor, calibrate ADAS cameras after a windshield replacement, or program a new key fob, that’s not a wrench problem — it’s a software problem, and a dealership or independent shop with the right scan tool (Autel MaxiSys or a factory-level tool) will save you more time than the DIY savings are worth.
The Bottom Line: What to Actually Buy
For brakes, spend the extra $20-30 on Akebono or ACDelco pads paired with Bosch QuietCast rotors — the ride quality and noise difference over cheap parts is noticeable within the first week. For suspension, Moog control arms and KYB or Monroe struts hit the best value-to-durability ratio without OE pricing. For batteries and ignition parts, stick with ACDelco, Bosch, Denso, or NGK — these brands consistently test within spec, while unnamed budget alternatives fail early often enough that the “savings” evaporate the first time you’re paying for a tow.
Three things to do before you order anything: confirm the exact OE part number for your VIN using RockAuto’s fitment tool or your dealer’s parts counter, check the torque spec against your specific model year rather than a generic number, and buy a calibrated torque wrench if you don’t already own one — it’s the cheapest insurance against a comeback repair. Availability on specific SKUs shifts fast heading into 2026 as manufacturers update part numbers for new model years, so double-check fitment before you check out.
Is it worth paying more for OEM parts over aftermarket?
It depends on the part. For brake pads, rotors, and suspension bushings, a quality aftermarket brand like Moog or Akebono often matches or beats OE durability at a lower price. For electronics, sensors, and anything tied to emissions or safety systems, OEM or OE-equivalent parts (Motorcraft, ACDelco, Denso) reduce the risk of check-engine codes and compatibility headaches significantly.
How do I know which torque spec applies to my specific vehicle?
Generic torque charts online are a starting point, not gospel — always cross-reference against a service manual, ALLDATA, or the torque spec sticker sometimes found on the strut tower or door jamb. Torque specs can vary 20-30% between trim levels and engine options on the same model, especially for wheel lugs and suspension bolts.
What’s the single most common mistake DIYers make on brake jobs?
Skipping the bed-in process on new pads and rotors. New ceramic or semi-metallic pads need roughly 15-20 moderate stops from highway speed to transfer material evenly onto the rotor surface — skip this and you’ll get pedal pulsation and premature wear within a few thousand miles, even with premium parts.
Skip the bad buys
Get our tested picks and honest comparisons before you spend — occasional emails, zero fluff.
Disclosure: This article may contain affiliate links. If you make a purchase through these links, we may earn a small commission at no additional cost to you. We only recommend products and services we believe will add value to our readers.
